How to Build a Gaming PC: Your Ultimate DIY Guide

Close-up of a colorful RGB cooling fan in a gaming PC setup.Photo: Necroform Art / Pexels

How to Build a Gaming PC: Your Ultimate DIY Guide

Unlock superior gaming performance and save money by assembling your dream machine with confidence.

Start Building Your PC

Key Takeaways

  • ✓ Building your own gaming PC can save you hundreds of dollars compared to pre-built systems.
  • ✓ Customization is key: choose components tailored to your exact gaming needs and budget.
  • ✓ The process is more straightforward than many believe, requiring patience and attention to detail.
  • ✓ Understanding each component's role is crucial for optimal performance and compatibility.

How It Works

1
Research & Component Selection

Determine your budget and desired performance, then select compatible CPU, GPU, motherboard, RAM, storage, PSU, and case. Use online resources like PCPartPicker to verify compatibility.

2
Assemble Core Components

Install the CPU, CPU cooler, RAM, and M.2 SSDs onto the motherboard outside the case. This makes the initial, delicate steps much easier to manage.

3
Install Motherboard & Power Supply

Mount the assembled motherboard into the PC case, ensuring all standoffs align. Then, install the power supply unit (PSU) and begin routing its cables.

4
Connect Peripherals & OS Installation

Install the graphics card, connect all power and data cables, and perform initial boot-up. Install your operating system, drivers, and favorite games.

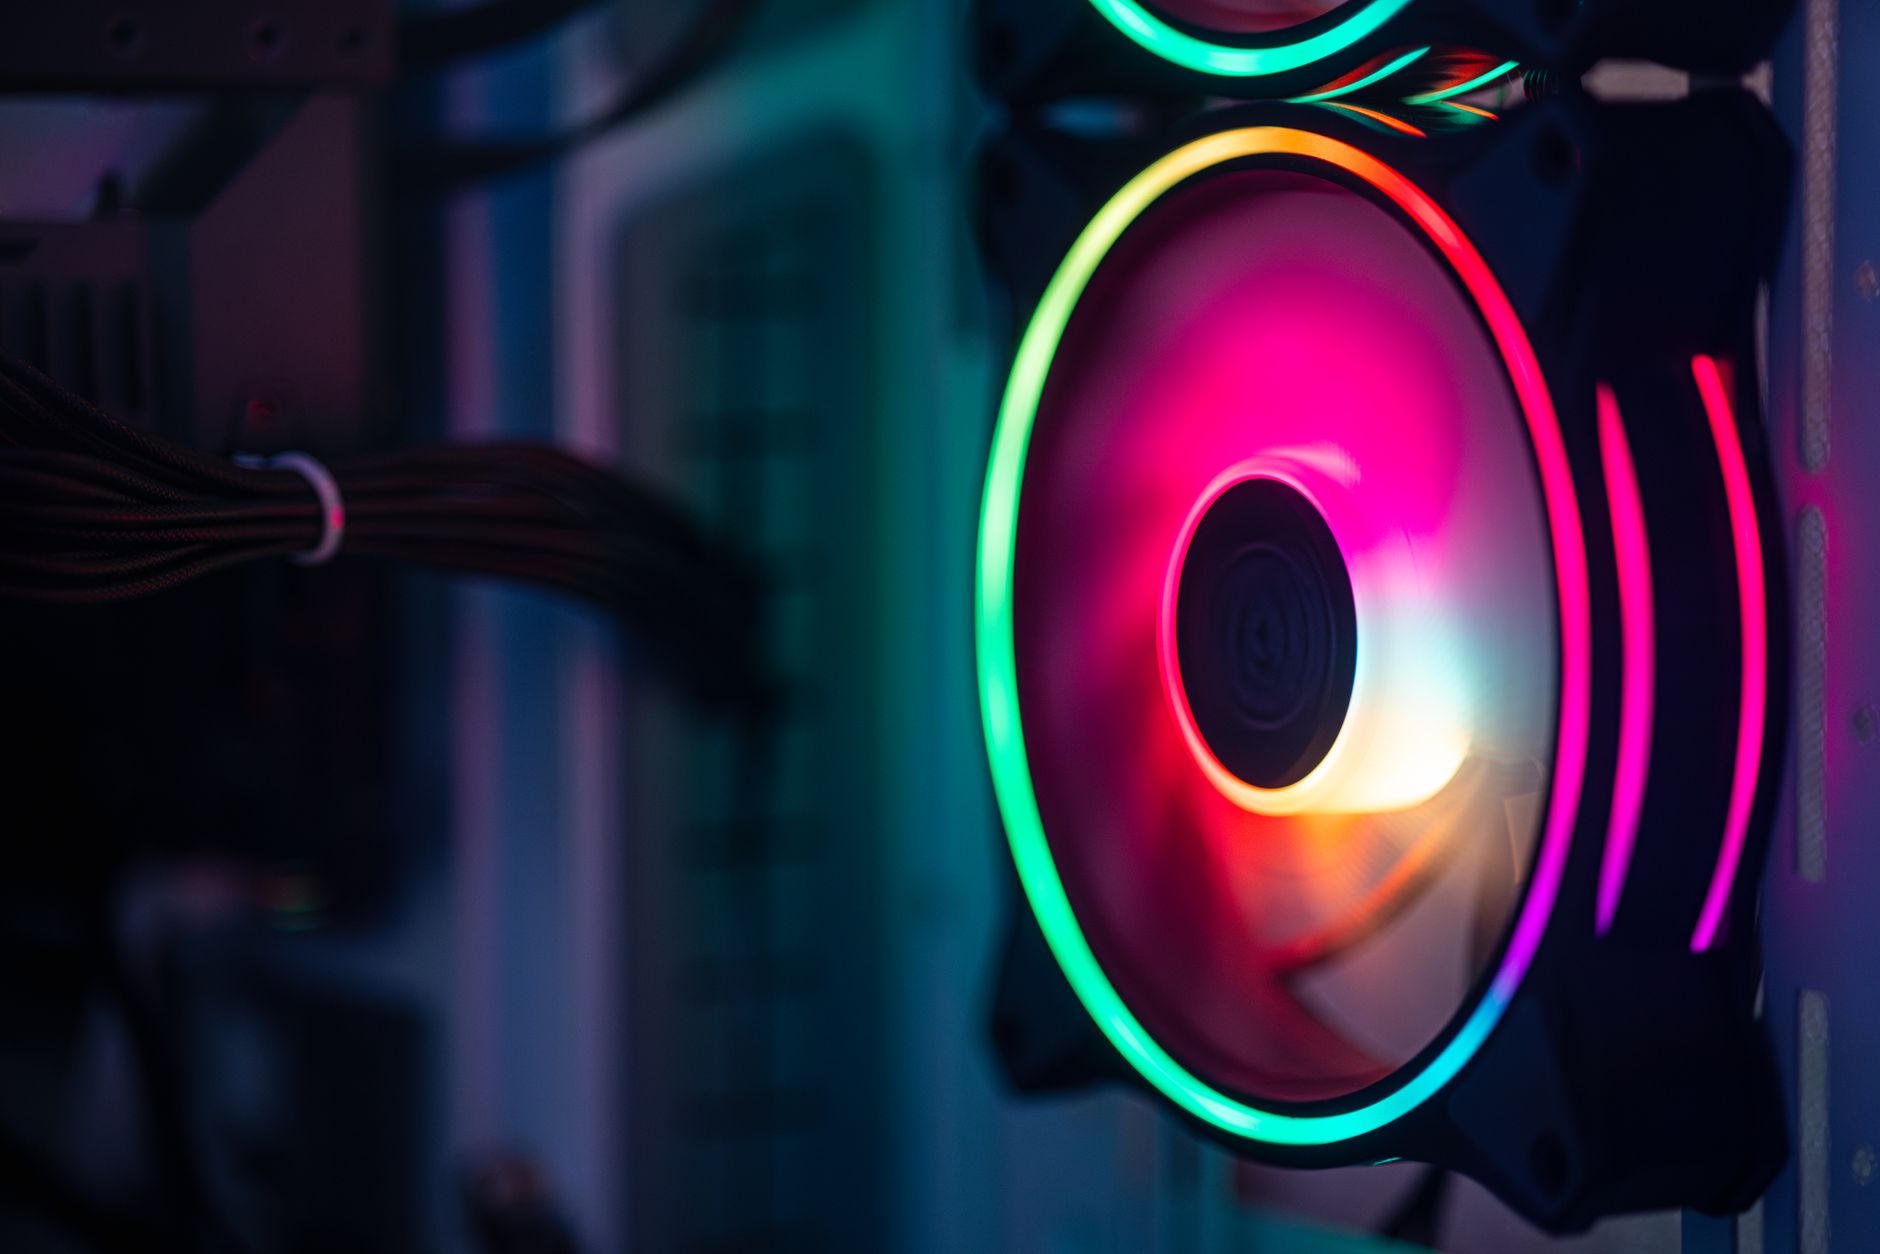
Why Build Your Own Gaming PC? The Customization Advantage

Sleek gaming desk setup featuring RGB lighting, large monitor, and gaming PC with glowing fans.
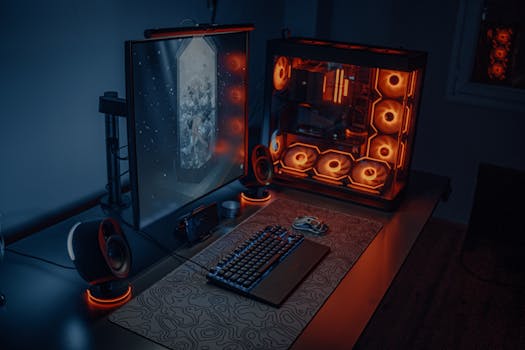
Photo: Atahan Demir / Pexels
The allure of building your own gaming PC extends far beyond just the satisfaction of a DIY project; it's about achieving unparalleled customization and value. When you decide to build your own computer, you gain complete control over every single component. This means you can handpick a CPU that excels in gaming and streaming, a graphics card that crushes 4K resolutions, and a storage solution that balances speed and capacity perfectly for your needs. Unlike pre-built systems, which often cut corners on less visible components like power supplies or RAM speed to hit a price point, a self-built PC allows you to allocate your budget precisely where it matters most to you. This level of control also translates into better performance per dollar. Retailers selling pre-built machines need to factor in assembly costs, marketing, and profit margins. By taking on the assembly yourself, you bypass these additional costs, effectively getting more powerful hardware for the same investment. Furthermore, building your PC provides a deep understanding of its inner workings, making future upgrades and troubleshooting significantly easier. You'll know exactly what each part does and how it interacts with others, empowering you to maintain and evolve your machine as new technologies emerge. It's an empowering journey that transforms you from a consumer into a creator, providing a gaming rig perfectly optimized for your play style and future-proofed against rapid technological advancements.

Essential Components for Your Gaming Rig: A Deep Dive

Detailed view of a CPU socket on a green motherboard, showcasing microprocessor technology.Photo: Pok Rie / Pexels
Understanding the core components is the first critical step in learning how to build a gaming PC. Each part plays a vital role in your system's overall performance and compatibility. The Central Processing Unit (CPU) is the 'brain' of your computer, handling most of the computational tasks. For gaming, a CPU with high clock speeds and a good core count is beneficial. The Graphics Processing Unit (GPU), often called the graphics card, is arguably the most crucial component for gaming, as it renders all the visuals you see on your screen. Investing in a powerful GPU is paramount for high frame rates and detailed graphics. The Motherboard acts as the central hub, connecting all other components and allowing them to communicate. Ensure it's compatible with your chosen CPU and has enough slots for RAM, storage, and expansion. Random Access Memory (RAM) provides temporary storage for active programs and data; 16GB is the sweet spot for most modern gaming, with 32GB becoming increasingly popular for demanding titles and multitasking. Storage, typically an NVMe SSD, dictates how fast your games load and your system boots. A Solid State Drive (SSD) is a must-have for your operating system and frequently played games. Finally, the Power Supply Unit (PSU) provides power to all components, and the PC Case houses everything while providing airflow for cooling. Choosing a reputable brand with sufficient wattage and good efficiency is crucial for system stability and longevity.

See also: rental car.

Step-by-Step Assembly: From Box to Boot

From above crop unrecognizable male inputting cables in modern computer system unit at home
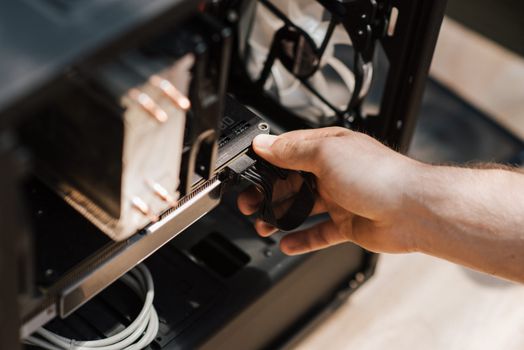
Photo: Anete Lusina / Pexels
Embarking on the actual assembly process of how to build a gaming PC can seem daunting, but by following a methodical approach, it becomes an enjoyable and rewarding experience. Start by unboxing your motherboard and installing the CPU into its socket, ensuring the triangle or arrow on the CPU aligns with the one on the socket. Gently lower the retention arm. Next, install your CPU cooler; this might involve mounting a backplate and then securing the heatsink, applying thermal paste if it's not pre-applied. After the cooler, snap your RAM sticks into the appropriate slots (check your motherboard manual for dual-channel configuration). If you have an M.2 NVMe SSD, install it onto the motherboard at this stage, securing it with its small screw. Now, carefully place your assembled motherboard into the PC case, aligning it with the standoffs. Secure it with screws. Install your Power Supply Unit (PSU) into its designated bay, usually at the bottom or top of the case. Begin routing the main power cables from the PSU to the motherboard (24-pin and 8-pin CPU power) and other components. Next, install your graphics card into the top PCIe x16 slot on the motherboard and secure it with the case's latch or screw. Connect its PCIe power cables from the PSU. Install any additional storage drives (2.5-inch SSDs or 3.5-inch HDDs) and connect their SATA power and data cables. Finally, connect all the front panel connectors (power switch, reset switch, USB, audio) from the case to the motherboard, referring to your motherboard manual for correct pin alignment. Double-check all connections before attempting the first boot. For more detailed guidance, consider watching PC building tutorials online.

Common Pitfalls and Pro Tips for Your First Build

Open computer case ready for installation, with screwdriver placed nearby on desk.
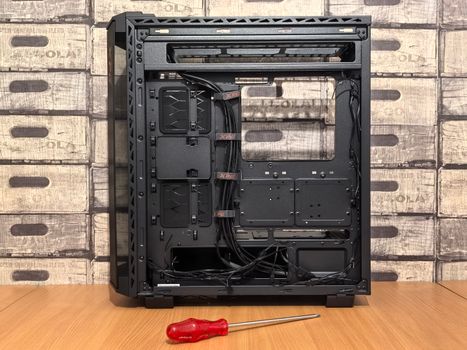
Photo: Andrey Matveev / Pexels
Building a gaming PC for the first time can present a few challenges, but being aware of common pitfalls can help you avoid them. One frequent mistake is forgetting to install the I/O shield before mounting the motherboard; it's a small, metal plate that fits into the back of your case. Another is incorrect RAM installation; always ensure sticks are fully seated until they click, and consult your motherboard manual for the correct slots for dual-channel memory. Over-tightening screws, especially on the CPU cooler, can damage components. Conversely, under-tightening can lead to poor thermal contact. **Pro Tips for a Smooth Build:** * **Static Electricity:** Work on a non-carpeted surface and touch a grounded metal object (like your PC case before plugging in components) frequently to discharge static. An anti-static wrist strap is a good investment. * **Motherboard Manual:** Treat your motherboard manual as your bible. It contains crucial information on header locations, RAM slot priority, and troubleshooting codes. * **Cable Management:** Plan your cable routes as you build. Good cable management not only makes your PC look tidier but also improves airflow, leading to better cooling. * **Test Outside the Case:** Before installing everything into the case, do a 'bench test' with just the CPU, cooler, one RAM stick, and GPU (if your CPU doesn't have integrated graphics) to ensure basic functionality. This saves time troubleshooting later. * **Don't Force It:** If a component doesn't fit easily, stop and re-evaluate. Forcing parts can lead to irreparable damage. * **Driver Installation:** After OS installation, the very next step is to install all necessary drivers, especially for your motherboard chipset and graphics card, directly from the manufacturers' websites for optimal performance.

Comparison

FeatureDIY Gaming PCPre-Built Gaming PC (Value)Pre-Built Gaming PC (Premium)
Cost-EffectivenessExcellent (More power for less money)Good (Convenient, but some markups)Fair (High premium for convenience)
CustomizationUnlimited (Choose every part)Limited (Fixed configurations)Limited (High-end fixed configurations)
UpgradeabilityExcellent (Easy component swaps)Good (Standard parts, but can vary)Good (Standard parts, but can vary)
Performance/DollarHighestModerateModerate
Knowledge GainedExtensiveMinimalMinimal
WarrantyIndividual Component WarrantiesSingle System WarrantySingle System Warranty
Time InvestmentSignificant (Research + Assembly)Minimal (Ready to use)Minimal (Ready to use)

What Our Readers Say

5 ★★★★★

"Following this guide made learning how to build a gaming PC incredibly straightforward. I saved almost $400 compared to a similar pre-built, and my new rig runs all my games flawlessly. Highly recommend!"

5 ★★★★★

"I was intimidated by the idea of building my own PC, but this article broke it down perfectly. The step-by-step instructions were clear, and now I have a powerful gaming machine I built myself!"

5 ★★★★★

"The tips on cable management and testing outside the case were invaluable. My first boot-up was successful, and my PC is quieter and cooler than I ever expected. Thanks for showing me how to build a gaming PC."

4 ★★★★☆

"The guide is fantastic, though I wish there were more specific budget recommendations for component selection. Still, it gave me the confidence to dive in, and my PC is a beast for gaming now!"

5 ★★★★★

"As a student on a tight budget, knowing how to build a gaming PC was a game-changer. I sourced used parts and combined them with new ones, and this guide helped me ensure compatibility and a smooth build process."

Frequently Asked Questions

Is building a gaming PC difficult for a beginner?
While it requires patience and attention to detail, building a gaming PC is very achievable for beginners. Modern components are designed to be user-friendly, and countless resources, like this guide, exist to walk you through each step. The satisfaction of building your own machine is immense.
Will I void warranties by building my own PC?
No, generally you will not void individual component warranties by assembling them yourself. Each part (CPU, GPU, motherboard, etc.) comes with its own manufacturer's warranty. As long as you don't physically damage the components during installation, these warranties remain valid.
What tools do I need to build a gaming PC?
You'll primarily need a Phillips head screwdriver (magnetic tip is a bonus), zip ties or Velcro straps for cable management, and potentially an anti-static wrist strap. A small knife or scissors for opening packaging is also useful. That's usually all it takes!
How much does it cost to build a good gaming PC?
The cost can vary widely based on your desired performance. A decent entry-level gaming PC might start around $700-$900, while a high-end, future-proof rig could easily exceed $1500-$2000+. Building it yourself typically saves 10-20% compared to a pre-built system of similar specifications.
Is building a PC better than buying a pre-built one?
For most enthusiasts, building a PC offers superior value, customization, and a deeper understanding of your hardware. Pre-builts offer convenience and a single point of warranty but often come with compromises on component quality or performance for the price. If you prioritize control and value, building is better.
Who should consider building their own gaming PC?
Anyone looking for maximum performance for their budget, complete control over component selection, a deeper understanding of their hardware, and the satisfaction of a DIY project should consider building their own gaming PC. It's also ideal for those who plan to upgrade components over time.
What if my PC doesn't turn on after assembly?
Don't panic! This is a common issue. Start by double-checking all power connections (24-pin, CPU, GPU), ensuring RAM is seated correctly, and verifying front panel connectors. Many motherboards have diagnostic LEDs or beep codes that can help pinpoint the problem. Refer to your motherboard manual for troubleshooting steps.
What are the future trends in gaming PC components?
Future trends point towards more efficient CPUs with higher core counts, increasingly powerful and power-efficient GPUs, widespread adoption of PCIe 5.0 for storage and GPUs, and faster DDR5 RAM. Liquid cooling solutions are also becoming more commonplace, even in mid-range builds, for optimal thermal performance.

Ready to take the plunge and experience the ultimate in personalized gaming? Use this comprehensive guide to confidently embark on your journey to how to build a gaming PC. The satisfaction of powering on your self-built rig is an unmatched feeling—start planning your dream machine today!

Topics: how to build a gaming PCPC building guideDIY gaming computercustom gaming PCgaming PC components
Leo List